Pink Superhero Party

I'm finally getting around to posting Lila's Pink Superhero birthday party that we celebrated in July!  I had a lot of fun with this theme.  The printables for this party are available in my Etsy shop here.  It's been featured on Kara's Party Ideas and Catch My Party.  The girls' capes are from Neverland Nook on Etsy, and the favor capes and masks are from Fun Kidz Stuff on Etsy.

Jenny
Jenny

Baby Love Shower

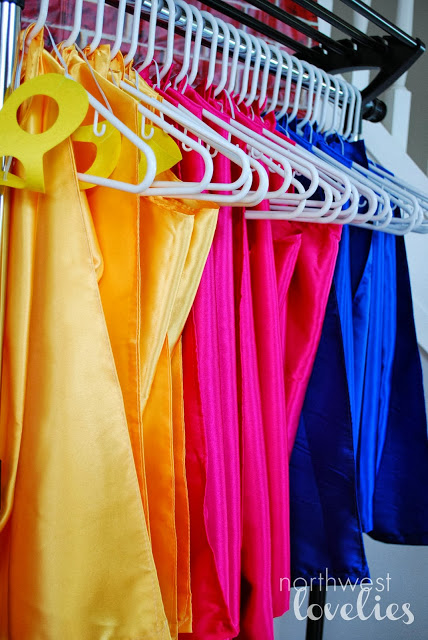
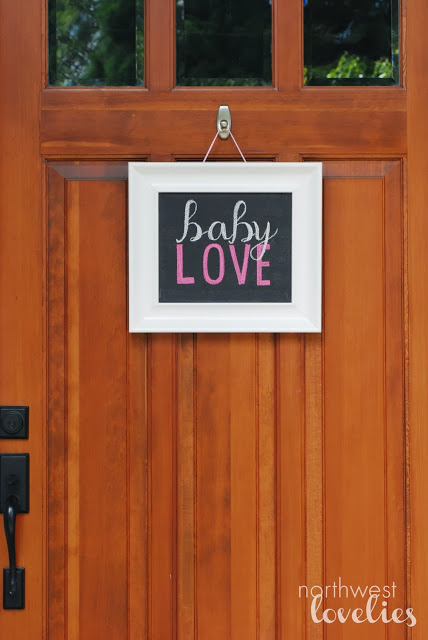
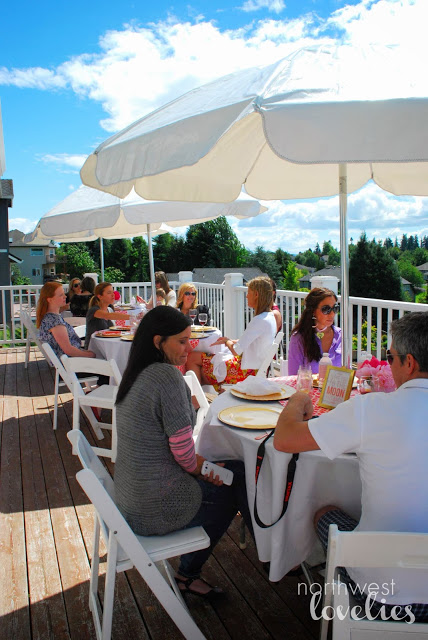
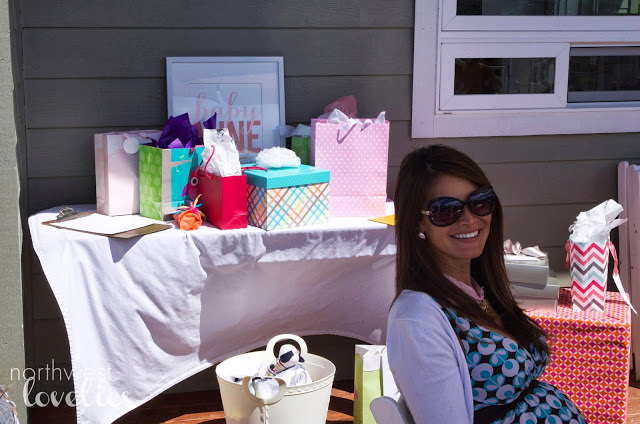
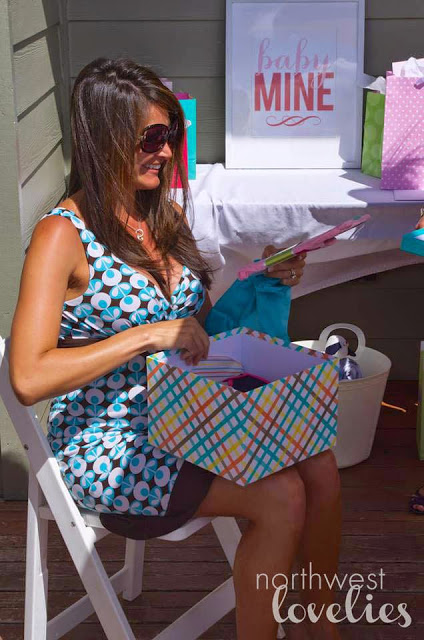
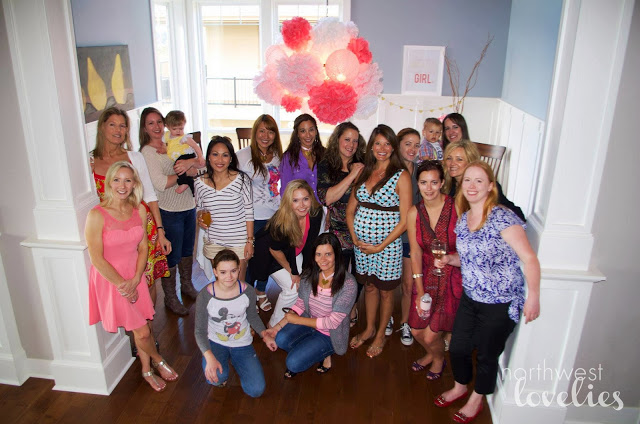
This weekend we hosted the sweetest baby shower for my sister in law!  She's having a girl!  When I asked her if she had any theme or color preferences, she responded with, "just lots of pink!"  I had no trouble with that request! :)  I went with a baby love theme, with light pink and coral and gold accents.  I loved every minute of planning!  We decided to do a sit down lunch buffet on the deck and luckily the weather cooperated... mostly.  It was sunny and warm and beautiful, but the wind was a little crazy.  We had to retrieve a few napkins and hold down our skirts, but the guests were so much fun, and we all had a great time!
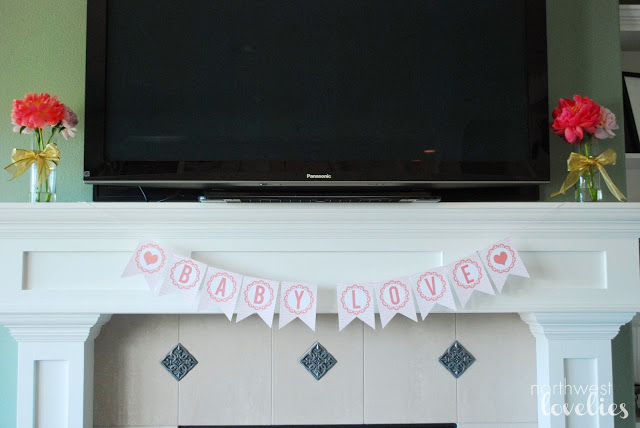
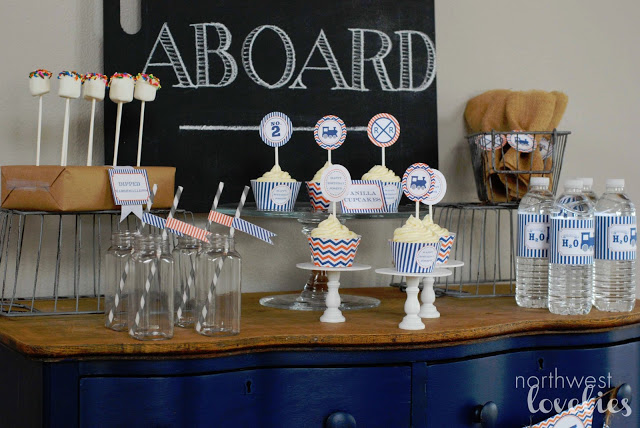


The Décor:
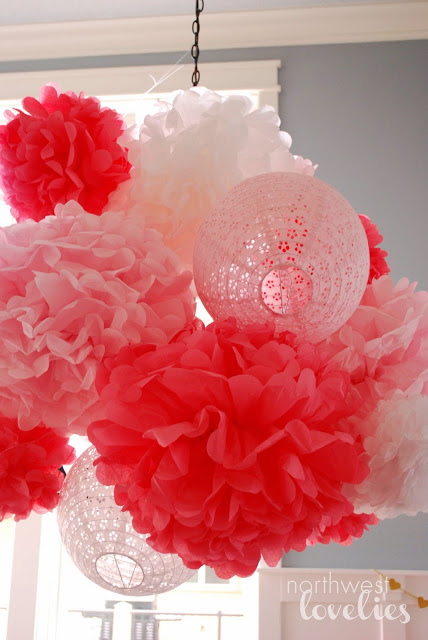
It's no secret that I love tissue paper poms.  I really can't get enough of them, especially on my chandelier.  Every time I make a pom pom chandelier it stays up for a month because it makes me happy. :)  I reused some poms and lanterns from Martha Stewart and bought a few new ones on 
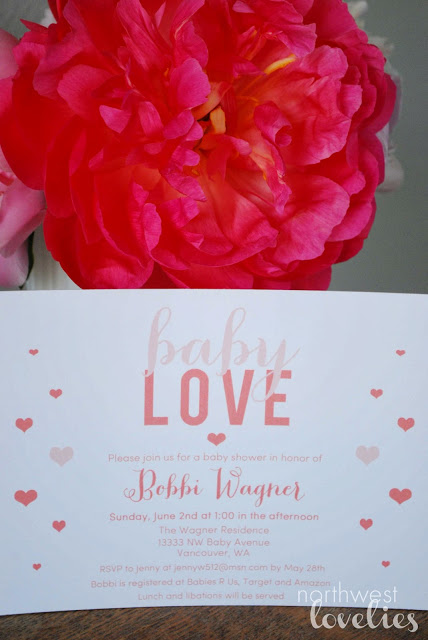
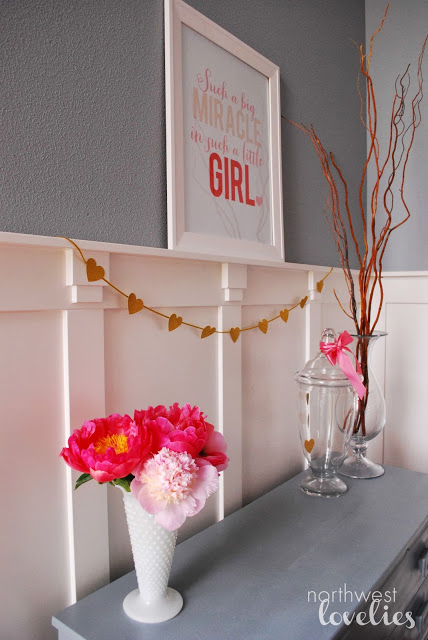
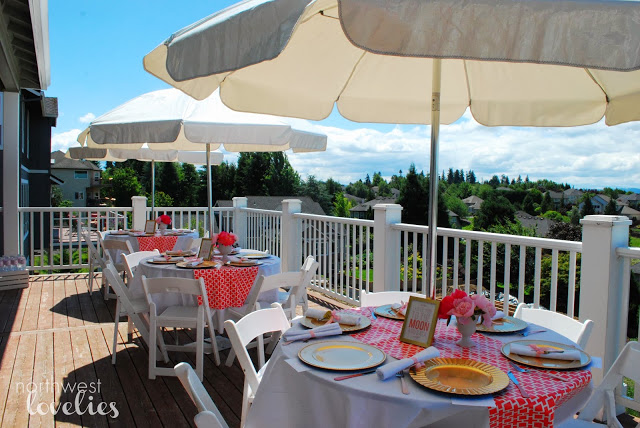
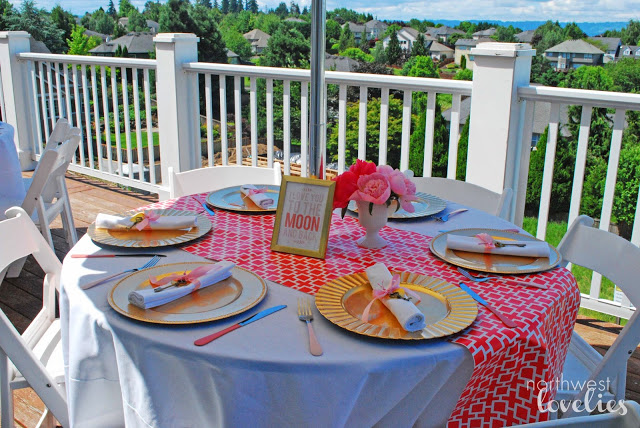
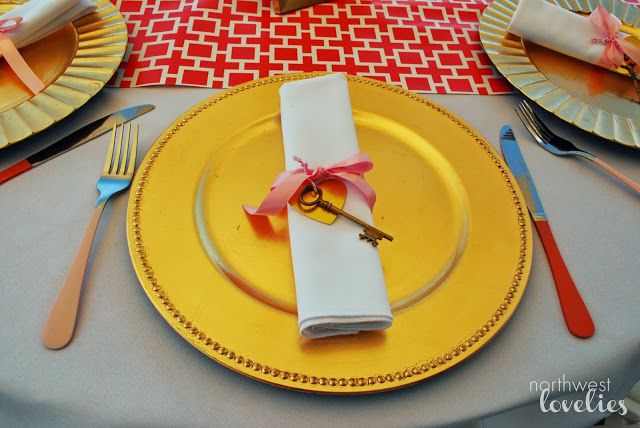
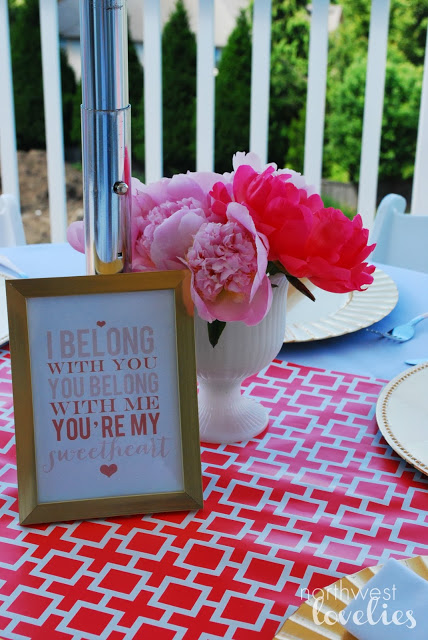
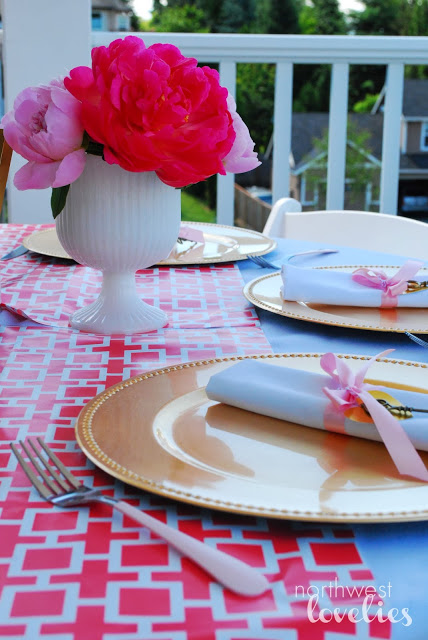
Etsy in the party colors.  The outdoor tables were decorated with white linens and a table runner made from wrapping paper I purchased at Target.  The color was perfect for the party and you can't beat the price!  I reused my gold chargers and milk glass vases for the tables and bought gold frames at  Dollar Tree for the love messages and other signs.  The napkin rings were pink ribbon, a punched out gold heart and a skeleton key tied together.  I really love skeleton keys so I had to fit them in.  I think they kind of work with the baby love theme... the key to my heart... maybe? :)  I also had to have dipped silverware after seeing it online a few times.  I painted the ends of the some Dollar Tree silverware ballet pink and coral isle.  The flowers were probably my favorite part of the whole party.  I had my heart set on peonies and luckily we snuck right under the wire of peony season!  I dropped by the local farmer's market the day before the party and bought light pink and dark coral peonies and they were gorgeous!  I can't get over how much they looked like the pom poms in the chandelier!  The invitation and the printables from this party will be up in my Etsy shop soon!
 
Games:
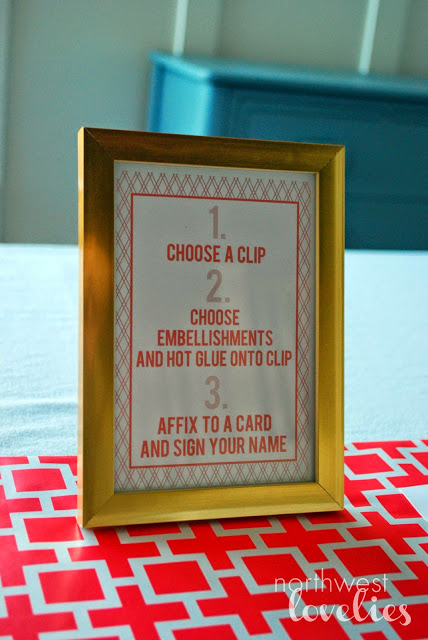
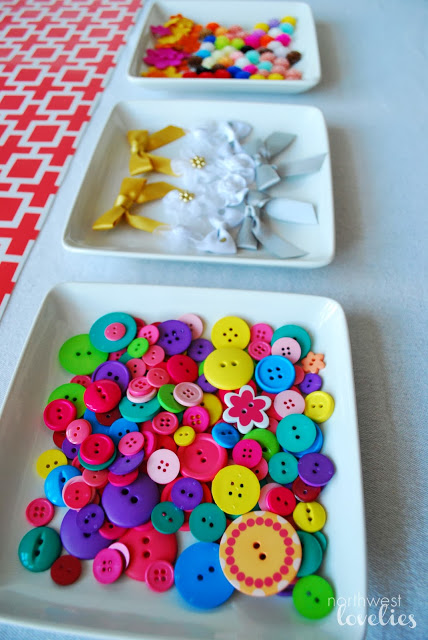
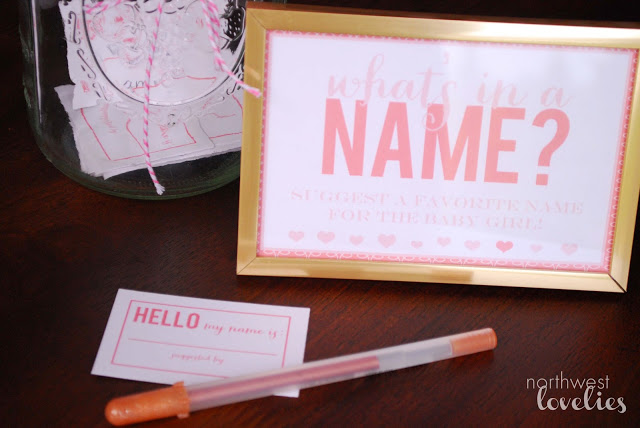
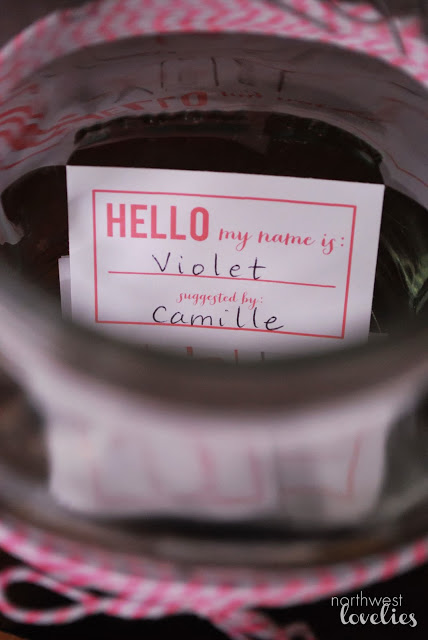
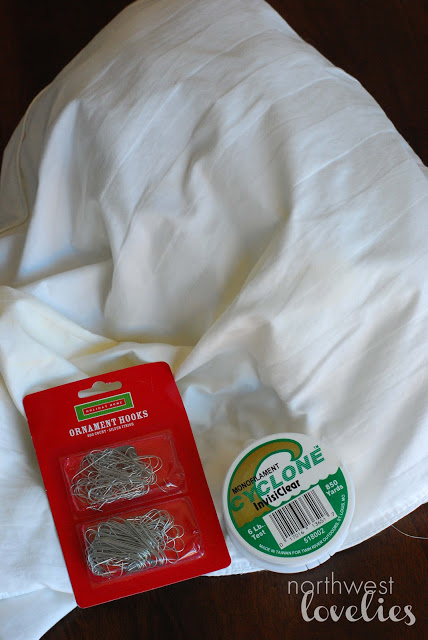
We decided against traditional baby shower games, but I liked the idea of an activity to give everyone something to do.  Hair clip making was the answer!  I set up a clip making station under the pom pom chandelier and the guests really got into it!  To make it easy, I pre-lined clips with a variety of ribbons and then set out bows, buttons, flowers etc. so each guest could design their own.  They put them on a little piece of cardstock and signed their name.  We also had a baby name suggestion jar as well as a place to write a note to the baby girl!
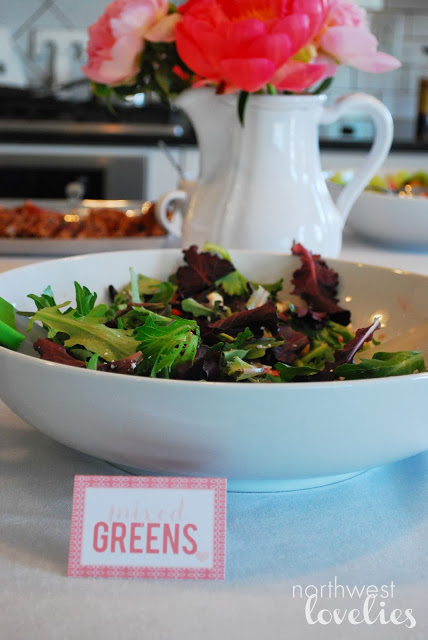
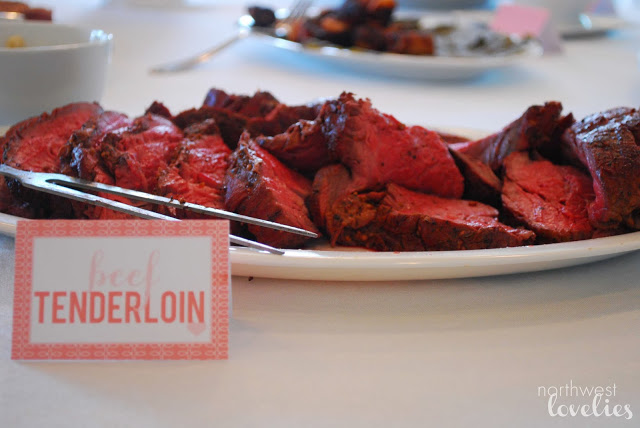
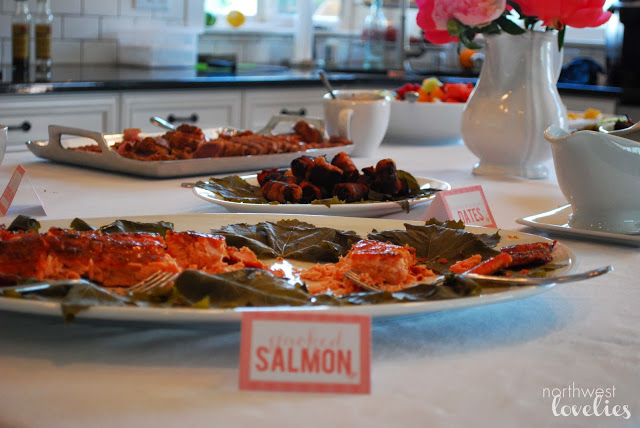
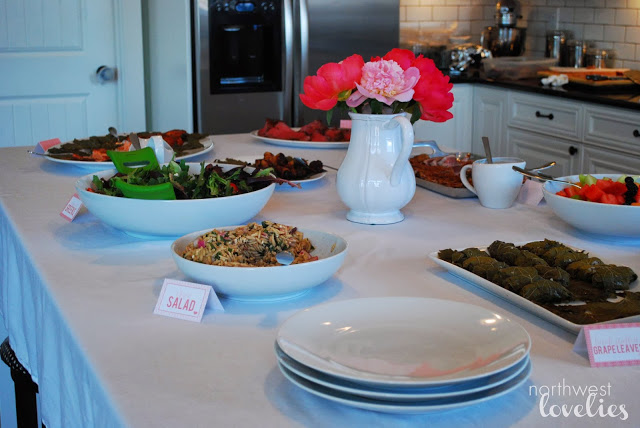
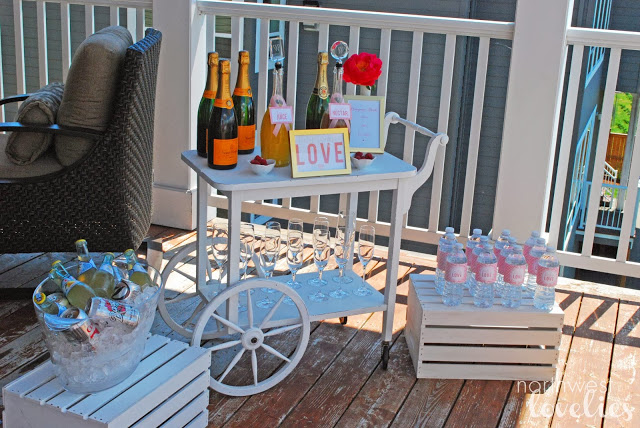
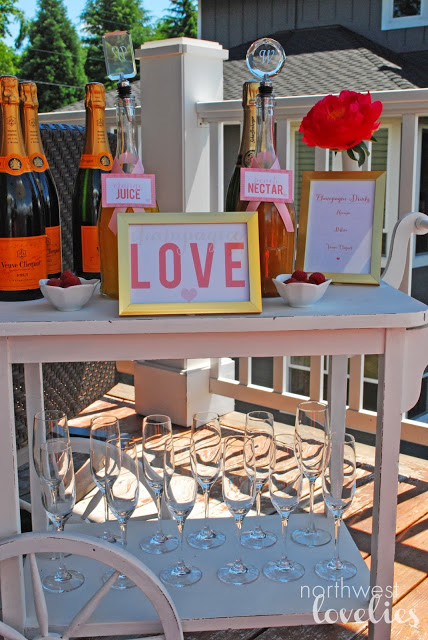
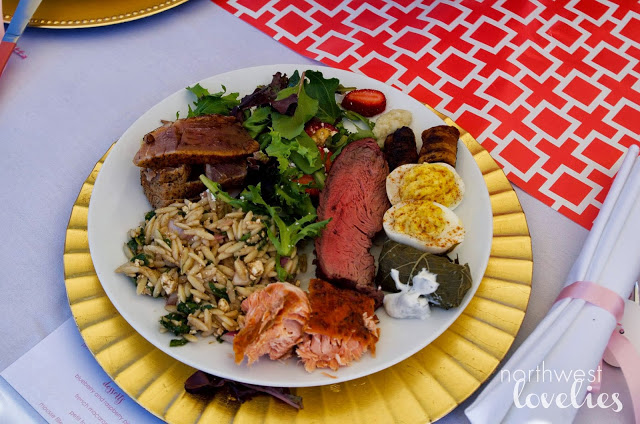
 
Food and Drinks:
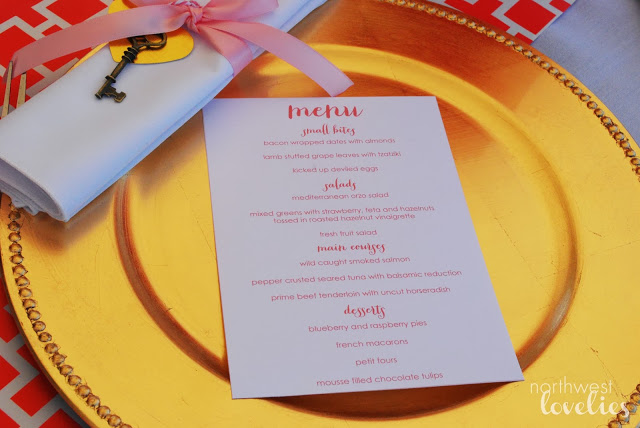
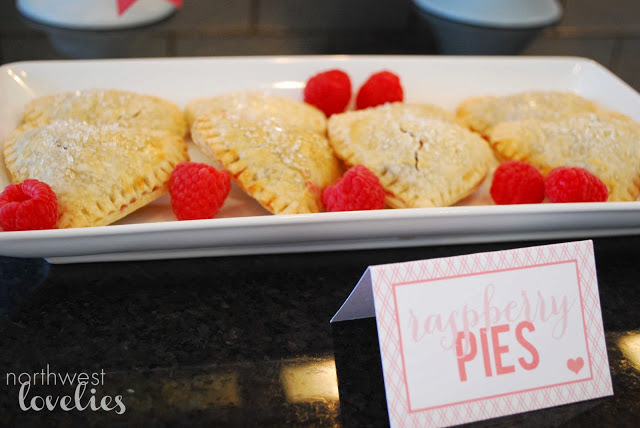
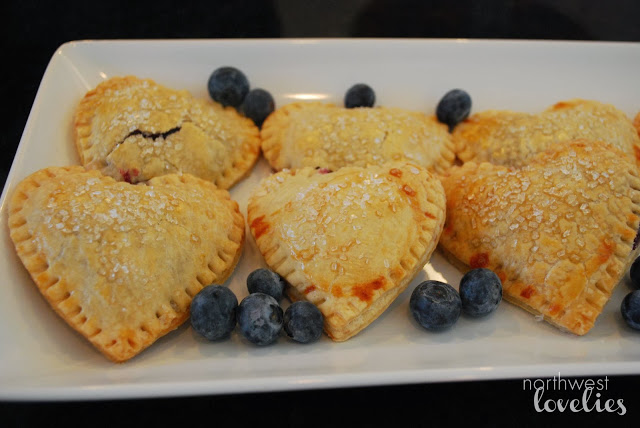
Lucky for me, my husband is an amazing cook.  He designed the whole menu for the event and prepared all of the food himself, with the exception of the orzo salad and a few desserts.  The food was fabulous!  I've spent the last two days eating leftovers. :)  The only contributions I made to the menu were the 
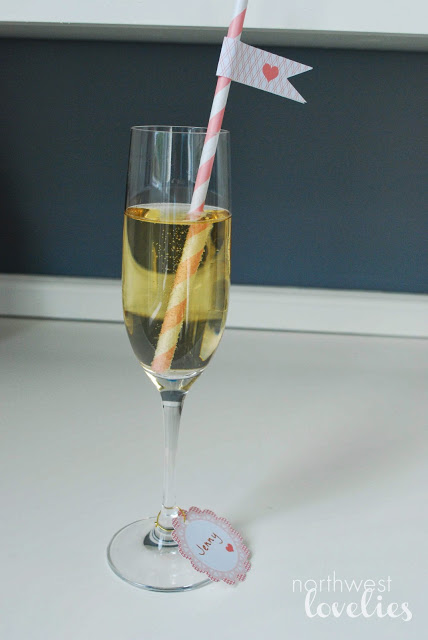
heart shaped pies which were pretty easy to make.  The macarons were from Trader Joe's and the other desserts and orzo salad were from Whole Foods.  For beverages we offered wine, a champagne cart for mimosas and bellinis, water, soda and pink lemonade.
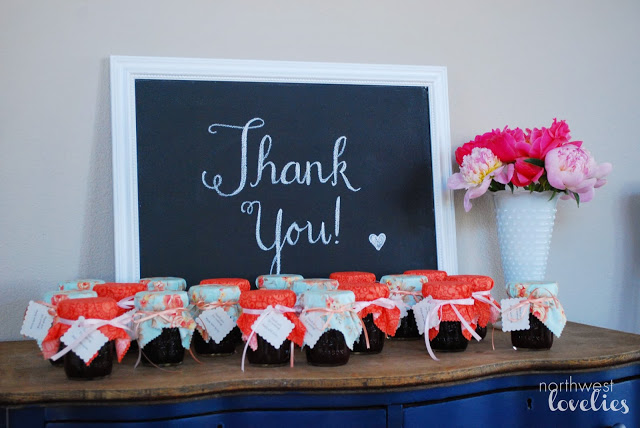
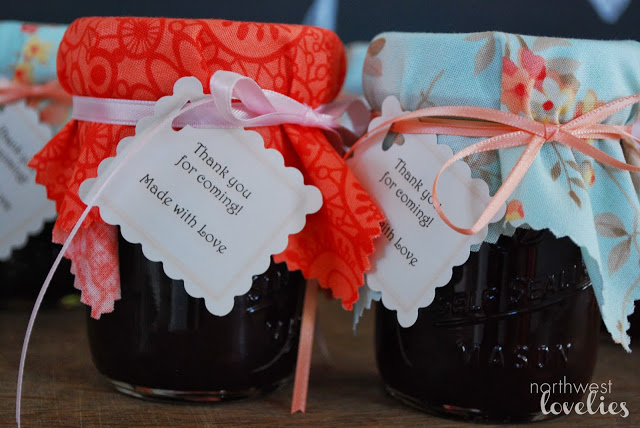
 
Favors:
The mama to be made berry jam from scratch to give as favors!  Not only that, she decorated the jars with gorgeous fabric and a darling little tag that even included the ingredients!  Such a great favor and so delicious!
 
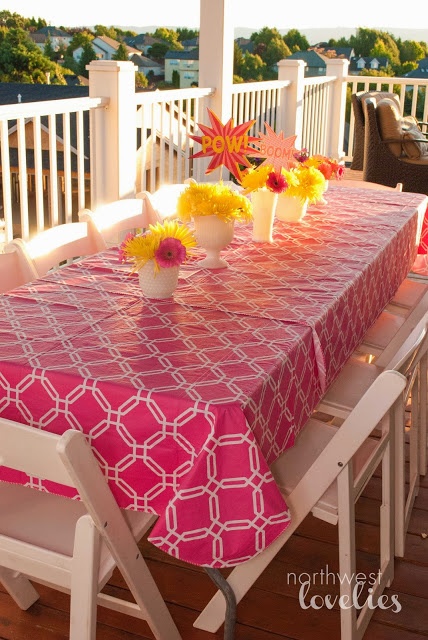
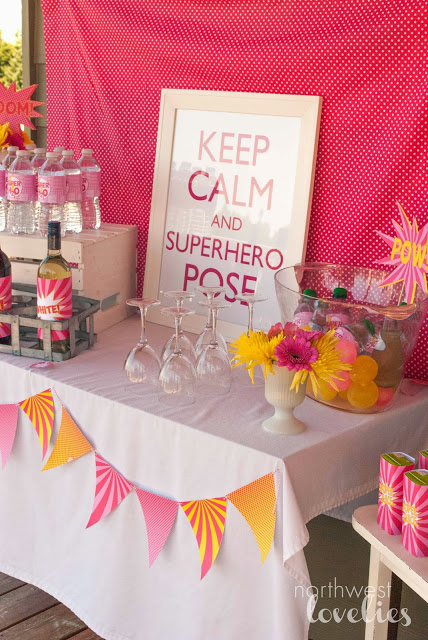
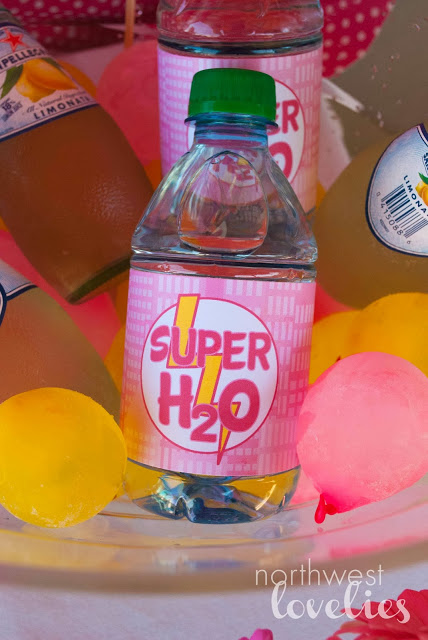
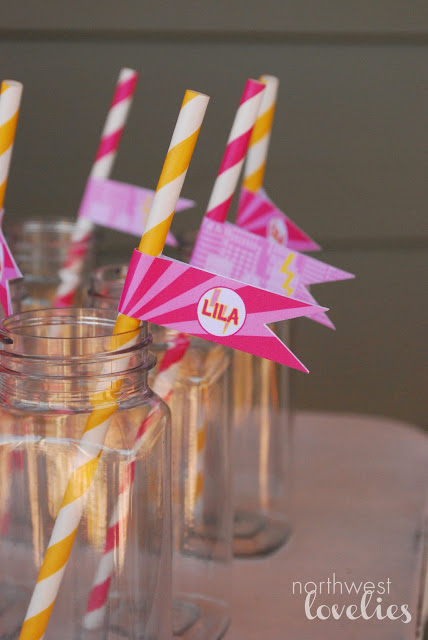
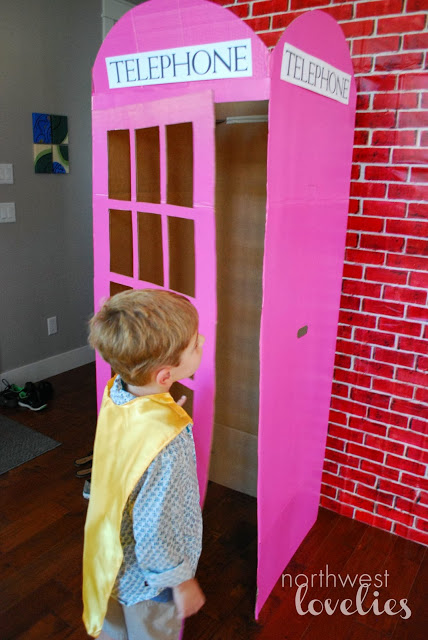
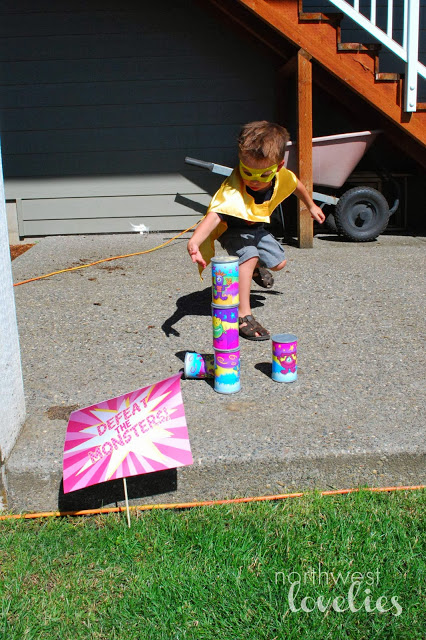
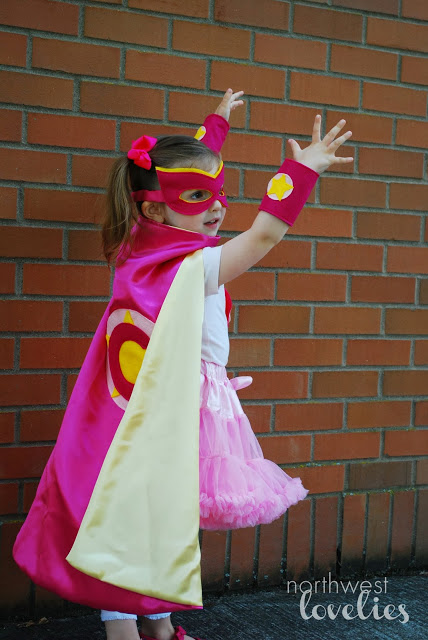
The shower was a blast and I cannot wait to meet my niece in a month or so!  Next up is a super cute pink superhero party... stay tuned... :)
 
 
Jenny
 
Linking up:
 
 
Today's Creative Blog

Bloom Designs Online

A Cowboy and Cowgirl Birthday Party!

A few weeks ago my friend Becky of Studio 623 Photography, threw an adorable cowboy/cowgirl birthday party for two of her kiddos!  I was lucky enough to design some party printables that evolved into a new collection, which will be up in the shop soon!  The party was complete with pony rides, a scavenger hunt, pin the tail on the donkey and a piñata!  The kids had a blast!  Here are some of the photos!


What a sweet birthday girl, watching the ponies arrive!
 
Birthday boy and girl blowing out their candles!
 
 Camille with the birthday girl!
 
I just love this picture of Camille!

Here's Lila with the look she gives people who look at her. :)

Piñata!
 
Party Styling and Photography- Studio 623 Photography
Cupcakes- Cowgirl Cupcake
Party Printables- Northwest Lovelies 
 
Jenny

Recycled Crayon Gift Tags

Spring is the time of year when our calendar starts filling up with birthday parties!  We were on our third party when I decided we should get creative with the gift wrapping.  I've never made a recycled crayon, but have always wanted to, and thought that the shape would be perfect as a gift tag!  We started by taking the wrappers off of the broken crayons (which is an excellent task for keeping little hands busy!) and then melting them in an old mini muffin tin in the oven at 275 degrees for a few minutes.
When they were still slightly warm, I poked a hole near the top with a skewer (don't wait until they've cooled or they'll crack!), and then stuck them in the freezer for a little while (that way they pop out really easily).
The girls colored some brown kraft paper to use as wrapping paper.
We added a paper circle by punching a tiny hole near the top, and strung the two together with monofilament.  Then we wrapped the gifts with jute twine.
The girls really enjoyed making crayons and designing their own wrapping paper!  I may have had a little too much fun making the crayons.  I had to stop myself when I was breaking perfectly good crayons so I could melt them down and see how they turned out. :)
Jenny


Linking to...


Today's Creative Blog

A Cloud Chandelier

My poor chandelier is almost always covered in something.  I like to think of it as getting it dressed up for different occasions!  Here it is for Lila's birthday party last summer, covered in blue and white poms and lanterns:


Here it is for my friend's bridal shower covered in pink and white poms and lanterns:
 
 
Here it is for Halloween covered in spider webs:


And for Camille's Vidia party, it dressed up as a cloud! 
 
 
All it takes to turn your chandelier into a cloud (or to make free hanging clouds!) is an old pillow, some ornament hooks and monofilament.


Here's how I did it:
1. Cut open pillow and pull out stuffing.
2. Carefully pull off and fluff a piece of stuffing to form a cloud. 
3. Tie monofilament to an ornament hook and hook inside cloud.
4. Tie another ornament hook to the other end of the monofilament for hanging.


I ended up using about 10 different clouds of varying sizes to cover the chandelier (I only covered the front, not the entire thing).   I would have liked to have the clouds hang from the ceiling individually, but the ceiling in the dining room is really high!  I love the big focal point though, and it went nicely with our fast flying fairy themed party!
 
 
 Something to note: This pillow stuffing was cotton and polyester.  When we turned the chandelier on, while it looked really neat, it got hot pretty quickly.  We kept it turned off, just in case!


Jenny